Snowboarders have always recreated in the backcountry. In the beginning, this involved a lot of hiking and the use of snowshoes. The ability to tour uphill on skins was reserved for skiers until the invention of splitboards.
Today we are spoiled for choice. For newcomers, there are lots of great snowshoe options and an ever-improving second-hand market for splitboarding equipment. For the experienced splitboarders there is a huge variety of boards available along with a choice of mature binding systems and even backcountry-specific boots.
This article will provide an overview of the equipment that is available today and offer some recommendations that are specific to recreating in the Scottish backcountry. It aims to be a valuable reference for both newcomers and more experienced riders.
Table of Contents
Splitboards
DIY Splitboards
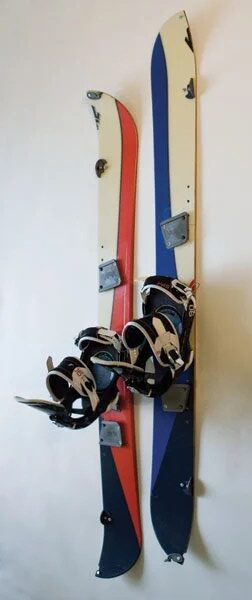
Splitboarding began with a bunch of brave souls chopping their snowboards in half. Voile continues to sell DIY conversion kits to this day.
Riding a DIY splitboard quickly teaches you that cutting your own board in half isn’t a great idea. It ruins the flex and you’re likely to encounter the disconcerting feeling of an extra edge down the middle of the board when you ride on anything other than powder.
Now that factory-built splitboards have been around for over a decade, the availability of used splitboards means that doing a DIY conversion isn’t really worth the money you might save. Go for it if you want a fun project or you have an old board that you’d love to take into the backcountry.
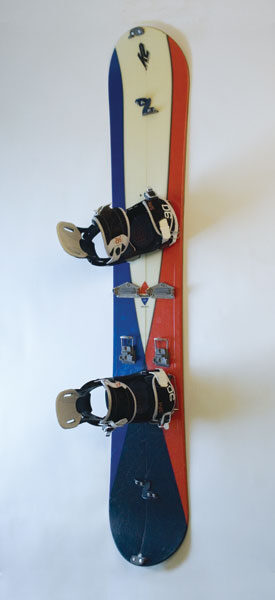
Factory Splitboards
Modern, factory built splitboards have come a long way. When set up correctly, you could ride them through a resort and barely notice the difference compared to a solid board.

While the binding interface is the main thing that holds the two “split-skis” together, some boards offer additional connection features, most notably Furberg Floorboard Technology.
Choosing a splitboard can be overwhelming given the number of options on the market. There are limited try-before-you options available, especially in the UK. One option is to rent a splitboard package from Ellis Brigham. This would be a good idea for all first-timers anyway – it will give you a taste for the sport before investing a lot of money on all of the kit.
A lot of brands sell a splitboard version of their solid boards, making the choice easier. A couple of examples are the Jones Mountain Twin and the Korua Dart.
Shape
All-mountain boards are a good bet for Scottish conditions. Directional boards will work for most people unless you really want to be riding switch in the backcountry! A powder board will gain you points for optimism but powder days are rare in Scotland and they tend to be shorter than other boards, possibly making side-hilling more difficult when skinning.
Size
Pay close attention to the manufacturer’s sizing guide. If there are recommended weights for different sizes then remember to take into account a heavier backpack compared to riding in a resort. Make sure that the board is wide enough – some manufacturers have specific sizes for bigger feet. You may end up in bulkier boots than usual and you don’t want your toes to be hanging over the edge and potentially touching the snow when you turn.
Stiffness / Flex & Damping
Given the poor quality of snow often encountered in Scotland, you may want a stiffer board than usual to help you hold your edge on turns. Better damping will make the ride more comfortable in stiff, bumpy snow. The downside to stiffness is that it can make the board less playful and therefore less fun to ride. As a rule of thumb, go for a stiffer board if you plan on riding steeper slopes in worse conditions. Go for a medium-stiff board if you are going out in better conditions in more mellow terrain. Soft-flex boards aren’t really recommended.
Weight
Board weight may also be a consideration if you are going to be touring long distances or want to make your life easier when carrying the board on your back. Lightweight boards like the Jones Ultra Solution tend to use carbon construction to reduce weight. While carbon boards can also offer some performance benefits, the inevitable downside is that these boards are more expensive. The Scottish backcountry is hard on gear with lots of rocks above and below the surface. If you are not comfortable with the possibility of trashing an expensive piece of kit then save these boards for foreign trips with more reliable snow conditions!
Edges
One notable feature that can be useful for the firm, icy snow often found in Scotland is serrated edges. Different manufacturers have different names for this, e.g. Jones Traction Tech and Lib Tech Magne-Traction. The serrated edge can “bite” into the snow to improve traction. Just be careful when sharpening the edges.
Mounting hardware
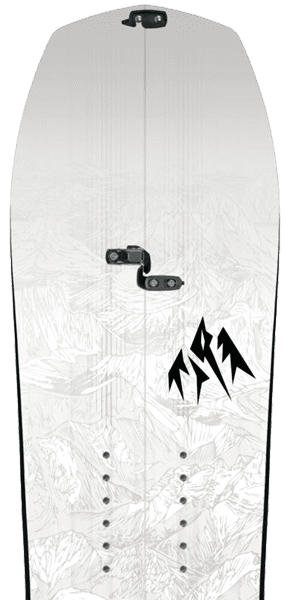
Splitboard mounting hardware consists of two pairs of clips.
The first pair of clips can be found at the tip and tail of the board. They are important so far that they stop the ends of the split-skis flapping about when you are riding. A common example is Karakoram Tip/Tail clips.
The second pair of clips are arguably more important as they play a large part in holding the two sides of the splitboard together when you are riding downhill. They are located between the bindings and tip/tail clips. A common example is Karakoram UltraClips.
It is generally possible to adjust the clips and it’s important to do so in order to get the tightest join possible. The last thing you want is the feeling of an additional edge between your feet.
The majority of splitboards come with mounting hardware included so it’s rare to have to purchase any of these parts separately.
Splitboard Bindings
Popular Binding Systems
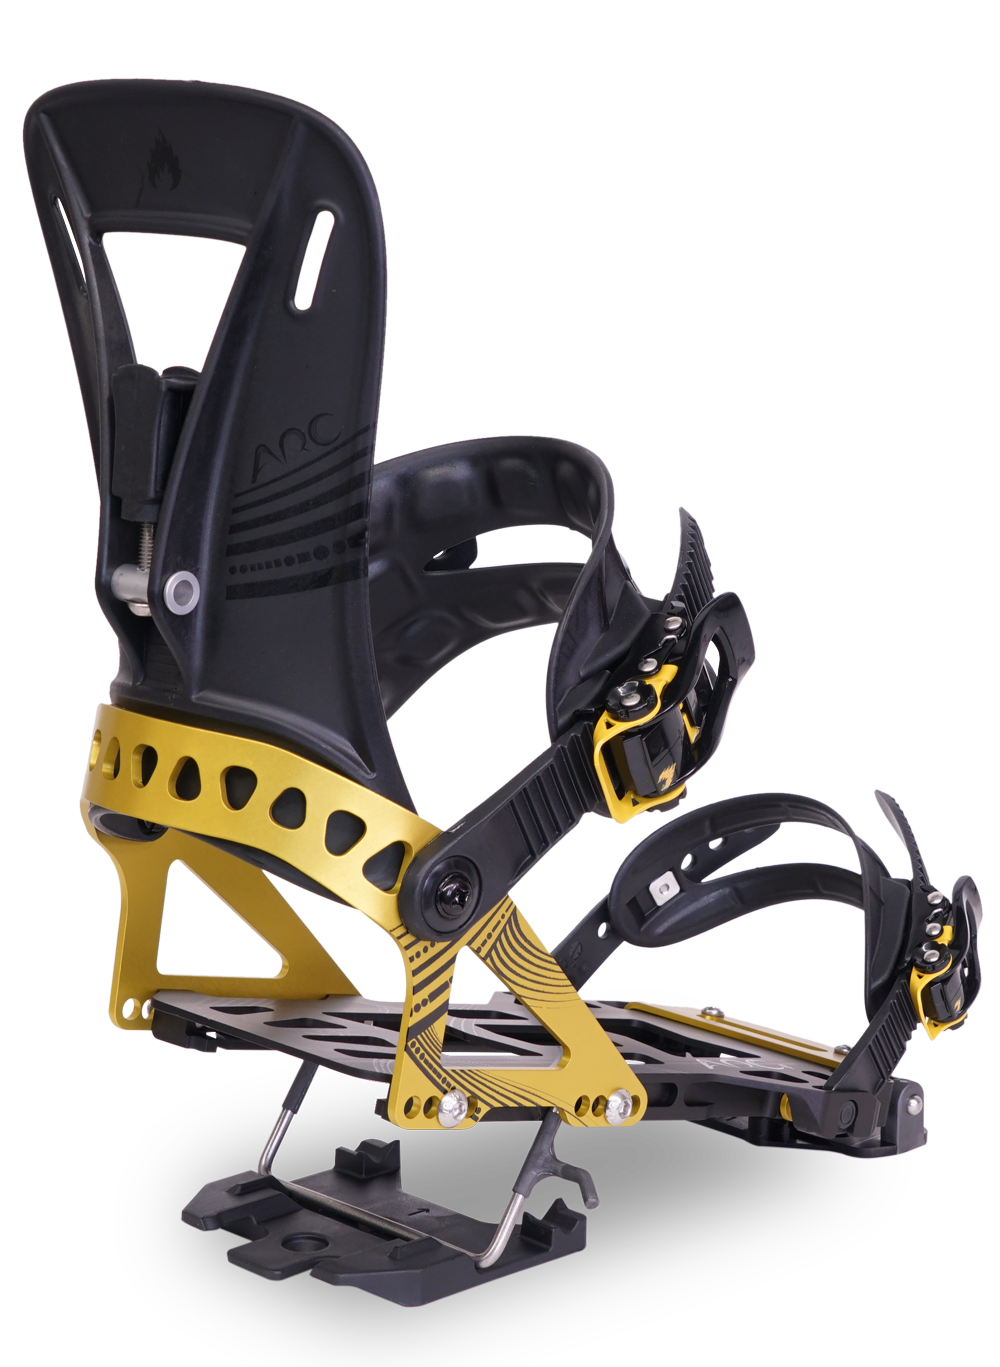
The two big names in town are Spark R&D and Karakoram. The choice largely comes down to personal preference. A common observation is that Spark R&D bindings have the advantage of being simpler than Karakoram bindings and are less prone to icing. On the other hand, many people believe that the Karakoram binding interface does a better job of holding the two sides of the splitboard together. You can’t really go wrong with either system.
Voile has a good reputation and their bindings may offer more budget-friendly options. Burton hitchhiker bindings use Spark R&D hardware with different straps and high-backs. Other manufacturers like Union offer plastic bindings which may not stand up to abuse as well as their metal counterparts.
Splitboard Crampons
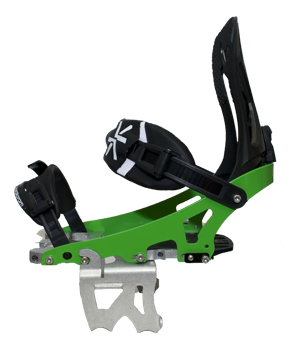
Splitboard crampons are equivalent to ski crampons, also known as harscheisen. Each type of binding has a corresponding type of crampon so make sure that you get the right one.
It is arguably more important for splitboarders to carry this type of crampon because you will likely need it before a skier needs their harscheisen. The reason for this is that snowboard boots (even backcountry-specific soft boots) are not as rigid as ski boots, making it harder to side-hill on steep, firm snow. Given that snowboards are typically shorter than skis, you also have less edge to work with.
Unless conditions are particularly good, it is always a good idea to carry splitboard crampons in Scotland. It could be the difference between skinning to the summit and having to transition to boot crampons – the latter is far more time consuming.
Binding Accessories
Step Lockers
In general it is more difficult to traverse and ride downhill on a splitboard in tour mode compared to skis in tour mode. It is best to minimise time spent on these activities through careful route choice, however, this is not always possible.
It is possible to upgrade most splitboarding bindings with a step lock, e.g. the Spark R&D T1 Step Locker. This makes it somewhat safer and easier to ski short distances downhill if you are feeling masochistic.
A big advantage of using a step lock is that it holds the bindings in place securely if you have to carry them on your backpack. This can make the upgrade worthwhile, even if you don’t plan on doing any split-skiing.
Stiffy
The amusingly named Stiffy is an accessory for Spark R&D bindings that helps pull the two sides of the splitboard together. This helps to compensate for the previously mentioned disadvantage of Spark R&D bindings compared to Karakoram bindings – the binding interface doesn’t do as good a job of holding the splitboard together.
Loctite Threadlocker
Not an accessory per se, however, Loctite Threadlocker can be extremely useful for preventing binding screws from coming loose. Splitboard bindings undergo a lot of vibration and the last thing you want is for a screw to pop out mid-tour and get lost in the snow. Spark R&D bindings are notoriously bad for this. It’s always a good idea to carry spares parts for bindings but prevention is always the best cure. The blue variety of threadlocker is best as it is not permanent.
Boots
The majority of splitboard bindings work perfectly well with regular snowboard boots. The exception is hard-boots, which will have their own section later. If you hear the term soft-boot, this simply refers to the regular style of snowboard boot.
There are a few important things to consider when choosing a boot for the backcountry. It is important to have a strong sole, preferably vibram or equivalent. At times you will have to hike, scramble and kick steps in snow so you need good grip.
Boots used in the backcountry will typically be on the stiffer end of the flex scale. This will help when riding in variable conditions and provide support. Given the necessity of carrying boot crampons in the Scottish backcountry, boots must be stiff enough for a C1 crampon, equivalent to a B1 boot. A popular, lightweight choice is the Petzl Leopard. The club has several pairs of these crampons that you can borrow and test out. It’s important to test the fit of the crampon before heading out on the hill, especially because snowboard boots are typically wider than winter mountaineering boots.
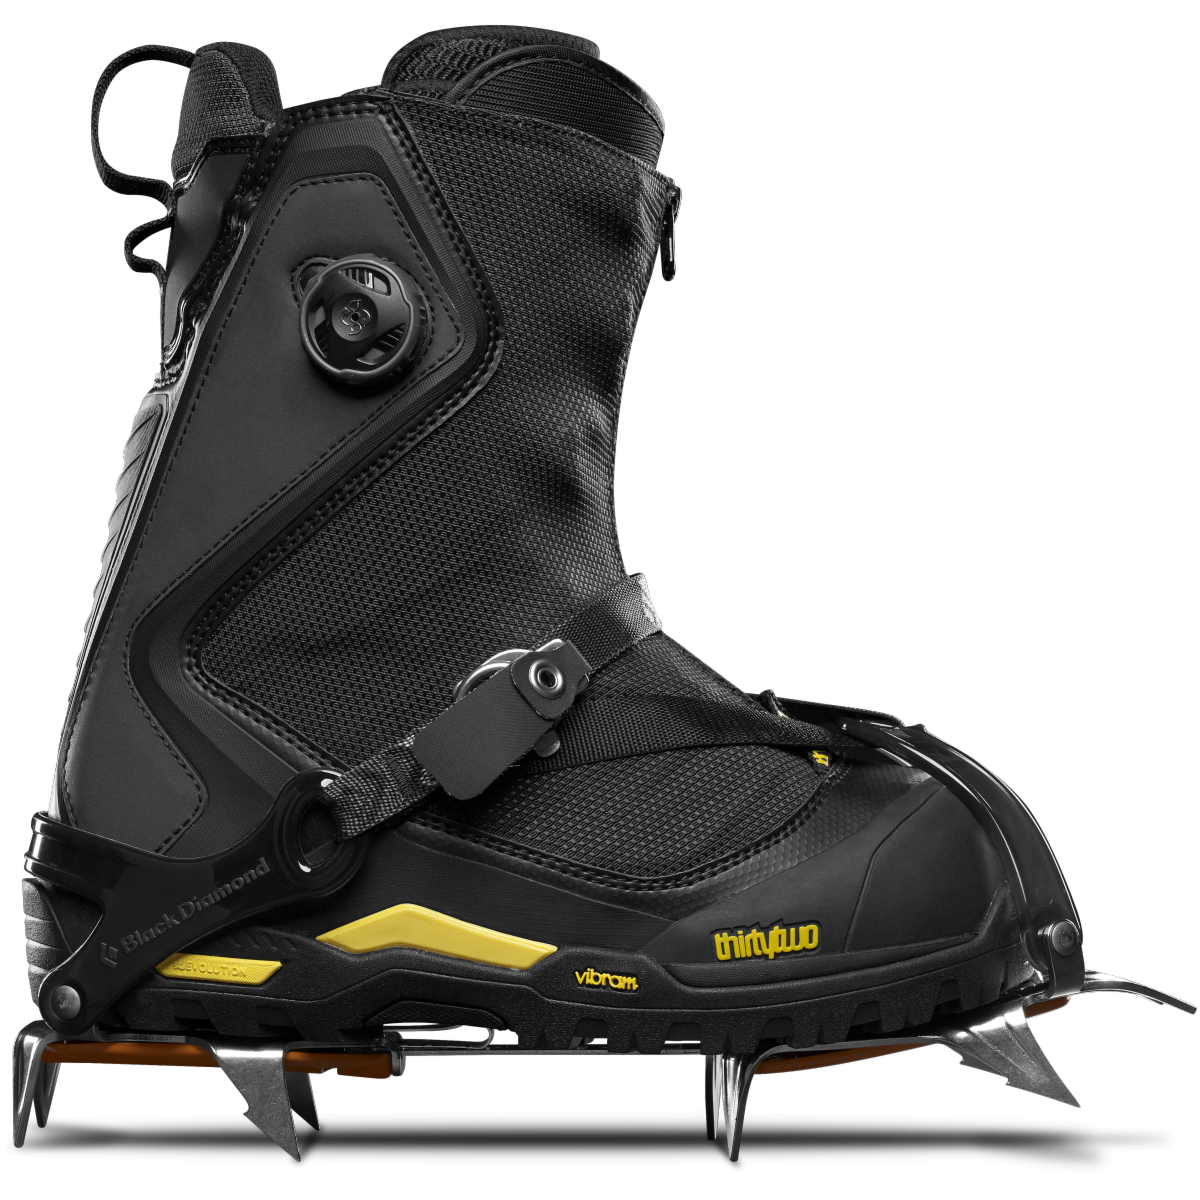
Some manufacturers sell boots with splitboard-specific features, like the Thirty-Two Jones MTB boot pictured. This boot includes a heel welt for B2 semi-automatic crampons and a walk mode collar to make touring more comfortable. This type of specialist boot can also offer improved durability and weatherproofing.
Skins
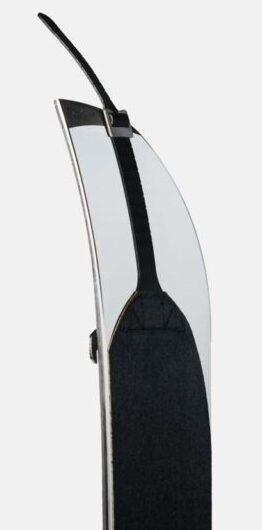
Splitboard skins are no different from ski skins. When purchasing a board, you will often have the option to buy pre-cut skins. This can make your life easier, however, cutting skins is not particularly difficult. Buying skins separately may provide more options and if you need help cutting them you can just ask club members.
Some manufacturers like Jones design their boards with cut-outs for quick tension tail clips. This can make it easier to attach skins to the board and also helps them stay attached in conditions where the glue is not working well.
Skins typically focus on climbing performance or gliding performance. Given that you will probably be trying to avoid doing a lot of traversing as a splitboarder, it can be a good idea to pick a skin with better climbing peformance. It can also be worth choosing robust skins over lightweight skins considering the abuse that they will go through in Scotland.
One common issue with skins is that snow will stick to them if they get wet. This can be unavoidable in Scotland so it’s a good idea to carry something like Black Diamond Glop Stopper and apply it before heading out into wet conditions.
Poles
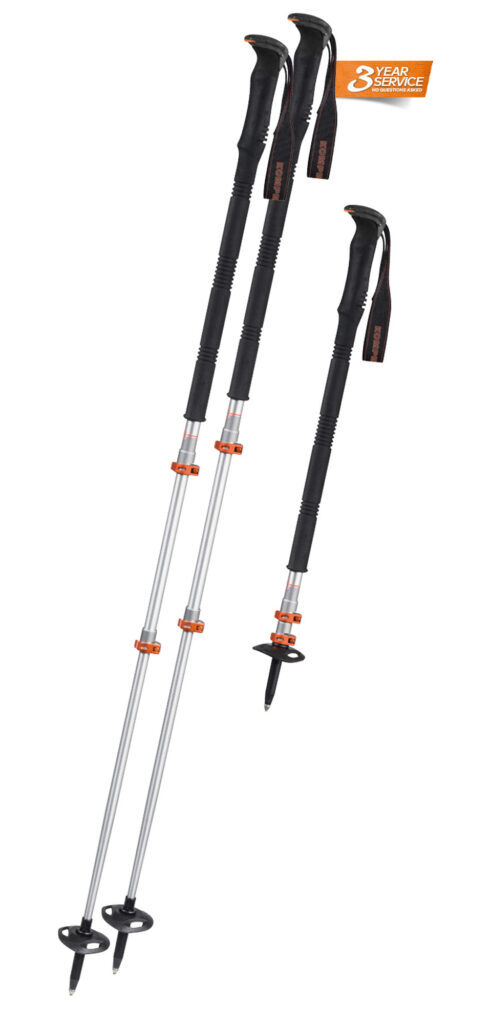
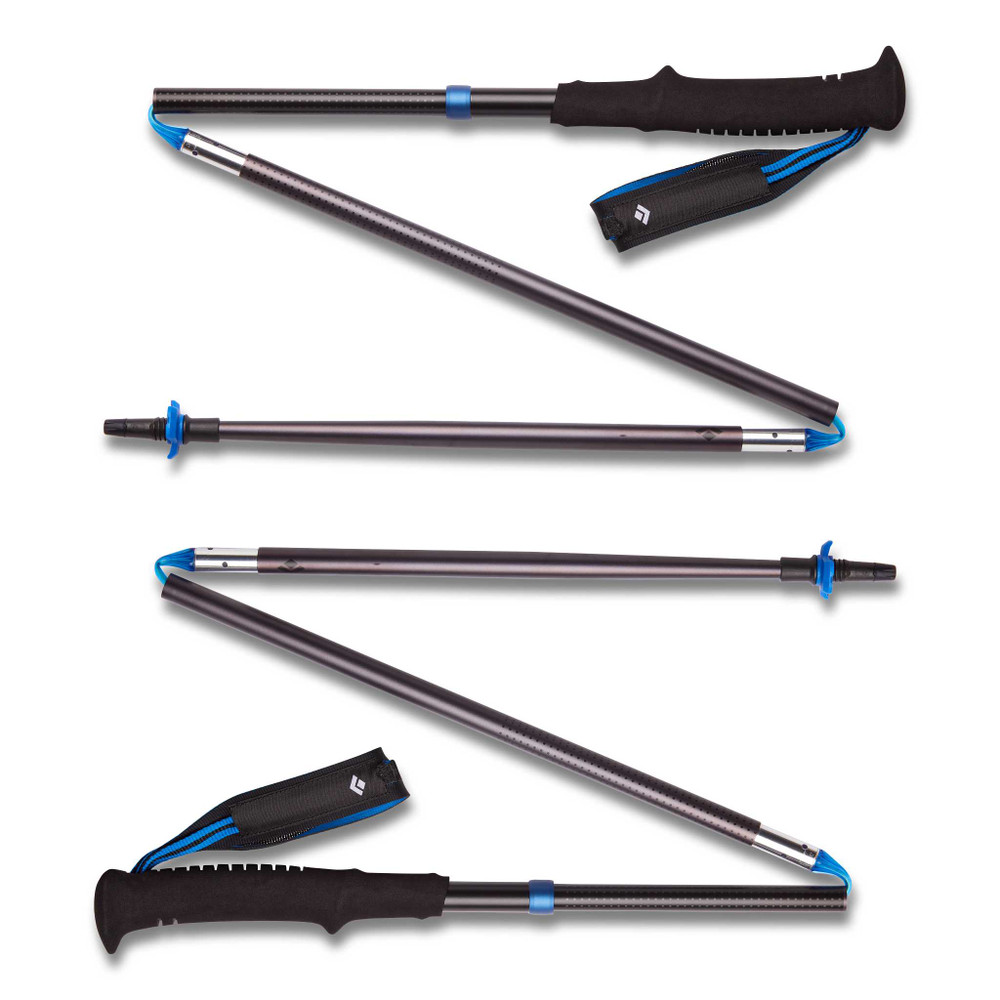
Poles are a must for touring uphill, however, you will normally want to get rid of them when riding downhill. For this reason, collapsible poles are very popular with splitboarders. Both telescoping and collapsible Z-fold style poles work well.
When choosing poles, consider whether you will want to store them on the inside or outside of your backpack. If you have an easy-access pack with plenty of space inside then Z-fold style poles could be a good choice. On the other hand, if you want to store your poles on the outside of your pack then a telescoping pole may work better. This is because Z-fold style poles don’t always have a good system for holding them tightly together when collapsed. You don’t want your hard-earned descent ruined by bits of pole flapping about on the outside of your pack!
Sometimes it can be useful to hold onto your poles for the decsent if you anticipate encountering a short traverse. It can be better to push yourself along for a while rather than stopping to transition.
Ice Axe
An ice axe is an essential piece of equipment for Scottish winter mountaineering and should always be carried in the backcountry.
If you have ambitions to ride in steep terrain, it’s important to learn how to use an ice axe while snowboarding. The first skill to learn is how to self arrest. While this is relatively easy on your toe side facing up the mountain, it’s more difficult if you fall while on your heel side. You should practice this skill in a safe environment, simulating both toe side and heel side falls. When talking specifically about self arresting, it is better to carry a single ice axe instead of two ice axes so that you can use your free hand to push down on the axe to prevent it from bouncing out of the snow.
Xavier de le Rue has a great video that describes different ways for backcountry snowboarders to utilise ice axes.
Hardboot Splitboarding
Disclaimer: take this section with a pinch of salt as at the time of writing there are no hardbooters in the club.
This article has mentioned a few areas where splitboarders can be at a disadvantage compared to ski tourers. Both traditional snowboard boots and splitboard boots are typically heavier than ski boots and lack a walk mode, making them less efficient for touring. Ski boots tend to be stiffer, making it easier to side-hill when climbing. It is also much easier to use boot crampons with ski boots as they work with with fully-automatic crampons.
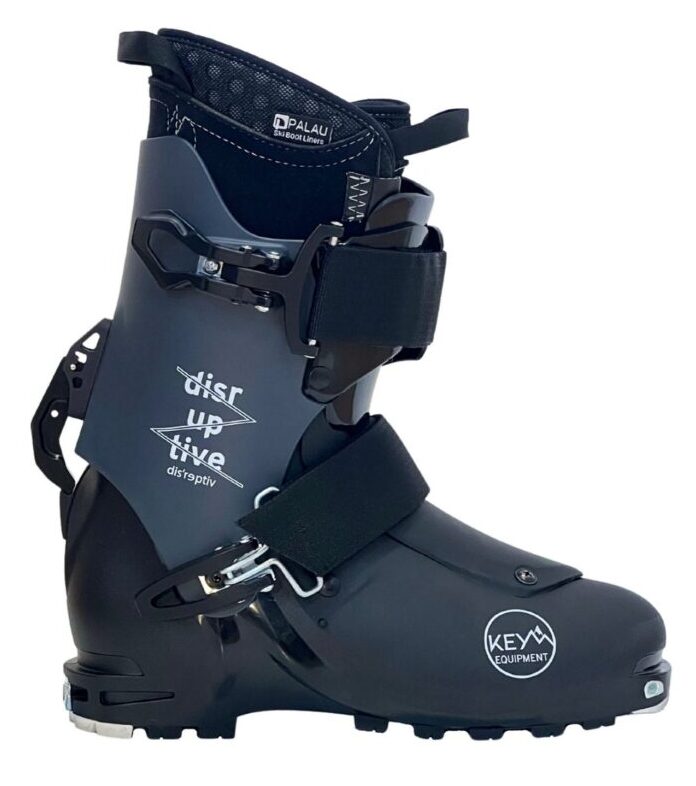
One solution to these issues is hardbooting. Originally this meant buying an expensive ski-touring boot and modifying it yourself in order to use it with a hardboot binding system. In recent years, however, some manufacturers have started developing splitboarding hardboots that do not require modification. The main example on the market at time of writing is the Key Equipment Disruptive boot.
Hardbooting requires different bindings. When climbing, the boots are attached using Tech Toes – a piece of ski touring equipment which is easy to get hold of. When descending, special hardboot snowboarding bindings are required. There are a few different options available, e.g. Phantom Snow, Spark R&D and Voile.
The most common criticism of hardbooting is that it can change the way it feels to ride downhill and that you lose some of the “surfy” feeling of snowboarding. This is highly anecdotal and it’s definitely worth trying it for yourself if you are interested. Keep in mind that some splitboard-specific softboots are very stiff, so you may be surprised to find that hardboots can still be a lot of fun.
If you often spend long days in the backcountry or are heading out on hut-to-hut trips where traversing is unavoidable, it could be worth considering hardboots. Norwegian splitboarding hero Krister Kopala swears by them and has a great video explaining the details of his setup.
Snowshoes
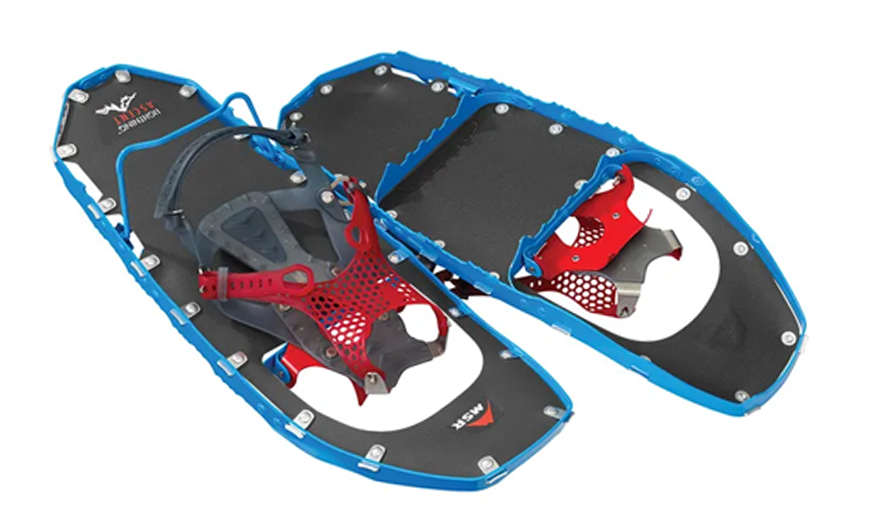
If you are new to backcountry snowboarding, snowshoes can be a great way to get a taste for the sport. They allow you to move through the backcountry without having to invest in splitboarding equipment.
In some countries like Japan, snowshoeing is still very popular. Simply strap your snowboard to your backpack and off you go. Carrying your snowboard on your back is hard work and you will likely be slower than ski tourers and splitboarders but it’s a good place to start!

